
Bugeye Body Variations
We had the rare opportunity recently to have both an early and a late model Bugeye in the shop at the same time. This gave us the chance to compare and document the changes that BMC made to the body shell and fittings between 1958 and 1960.
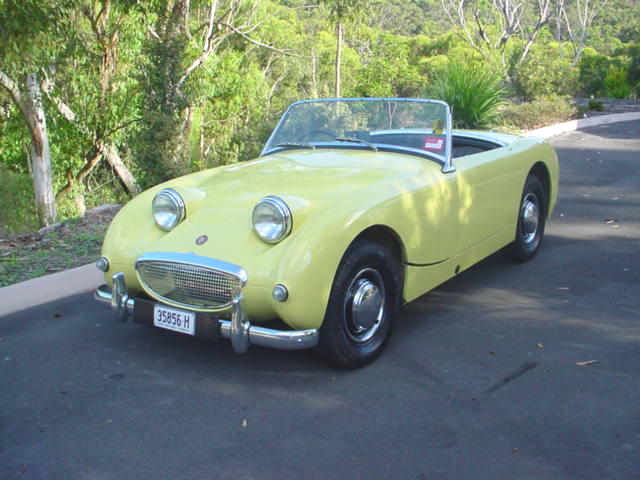
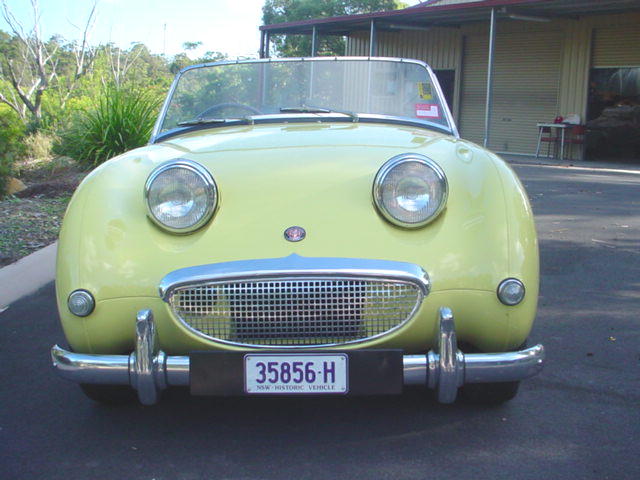
Granny's Sprite is car number 4165 and was built on 29 August 1958. It was in the Workshop being returned to it's original Primrose colour, and being refurbished in readiness for sale to Wayne.

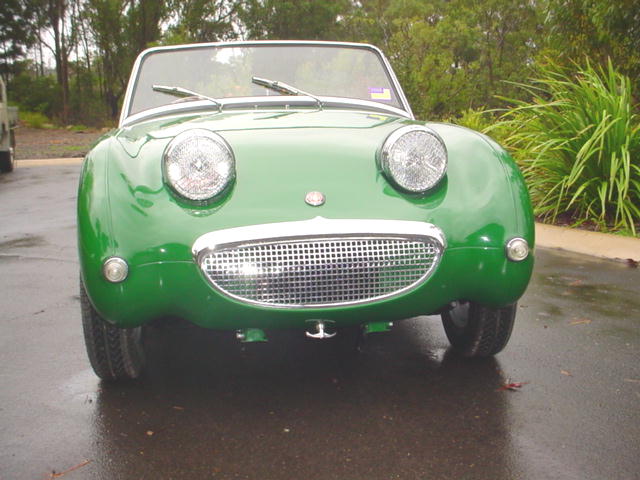
Rob's Bugeye is car number 30224 and was built in January 1960. It was nearing the end of a bare shell restoration.
The following photos show the differences between the two cars.
Let's start at the front of the car, and work our way backward. Firstly, the bonnet. Granny's has no ducting to force air through the radiator.

The hinge panel at the rear of Granny's bonnet is shorter. It seems a factory makeshift strengthening piece was added, before the entire panel was made longer as on Rob's Bugeye.

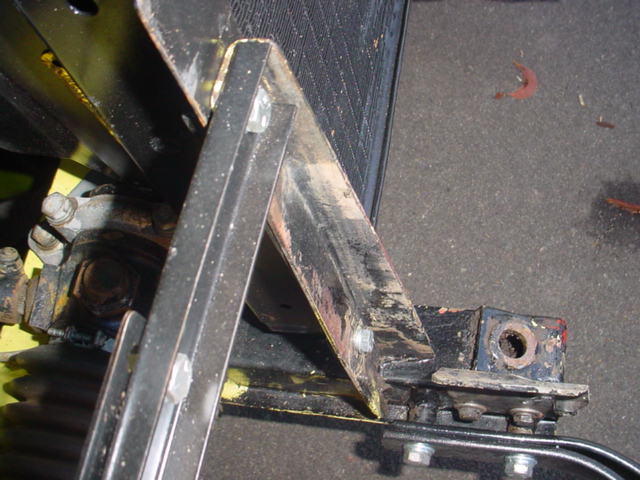
Now moving to the chassis, from the front we find Granny's radiator supports very simply made, and not very strong. Rob's radiator brackets are much stronger.
Granny's car has a red fan and fan pulley, perhaps to carefully disguise the blood stains. Later cars had a bright yellow fan and pulley.

The steering rack mounts on Granny's car and Rob's Bugeye are quite different.
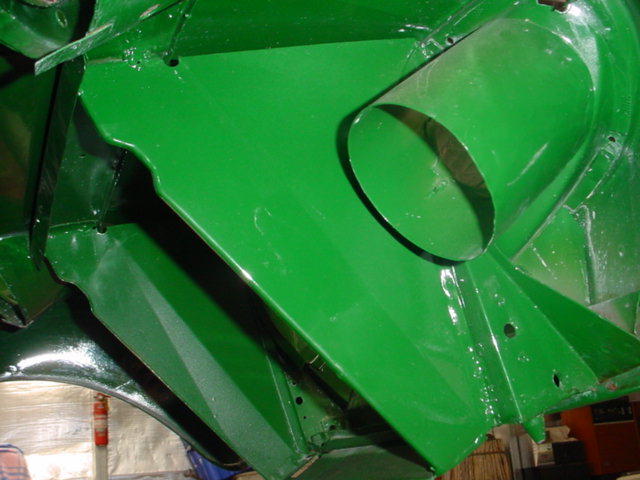
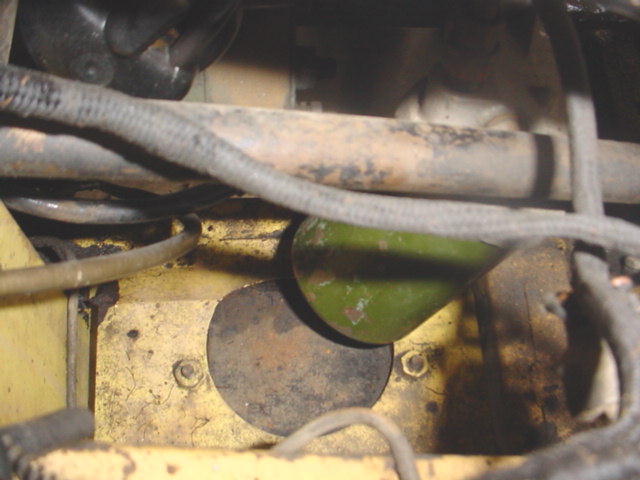
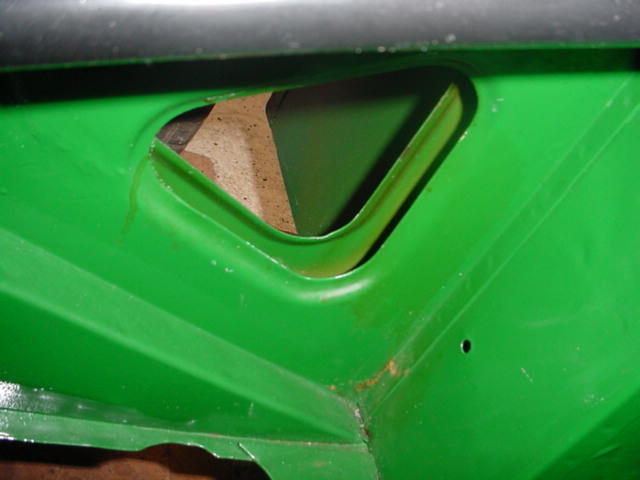
The panel between the footwells and shock absorber tower is just a single sheet of steel on Granny's car, but two sheets on Rob's. On the left side, Granny's has an horizontal panel welded to the chassis, with a hole through which the exhaust passes. On the right hand side, there is a similar sheet of metal welded to the chassis, a hole to allow access to the oil filter, and a blanking plate which attaches from below.
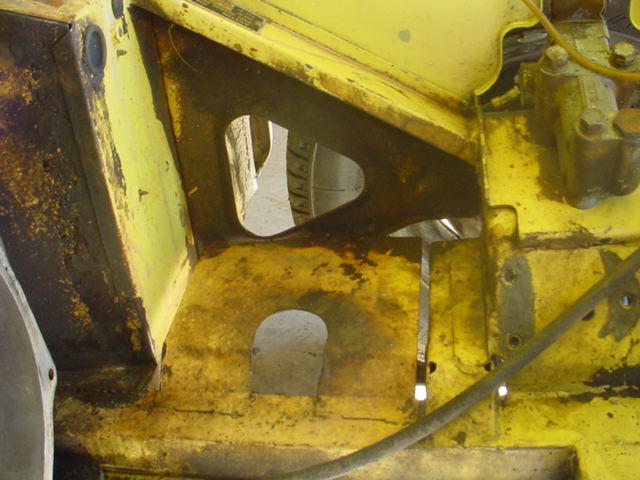


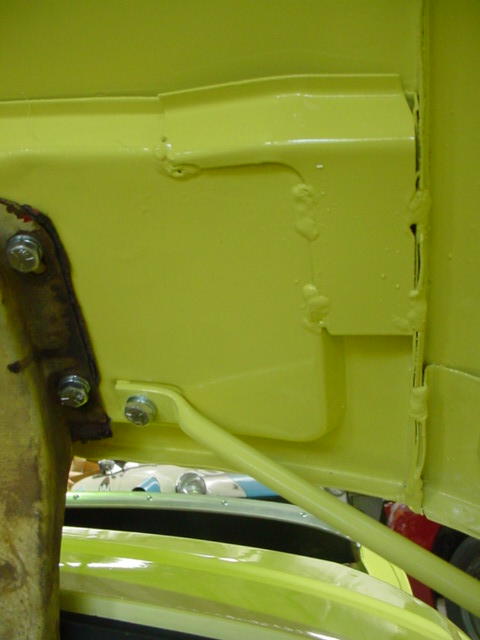
On Rob's Bugeye, there is a re-inforcing gusset between both footwells and the inner mudguards. The gusset on the right side carries a mount for the coil. Granny's car doesn't have these gussets, and the coil is mounted on the generator. You can see the red coil in the photo above, behind the red fan.


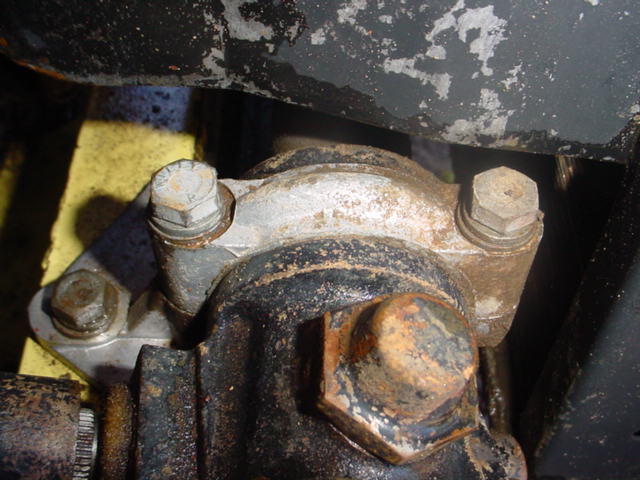
The two halves of Granny's tacho reduction box are held together by a metal band, and the box is attached to the generator with a knurled nut.

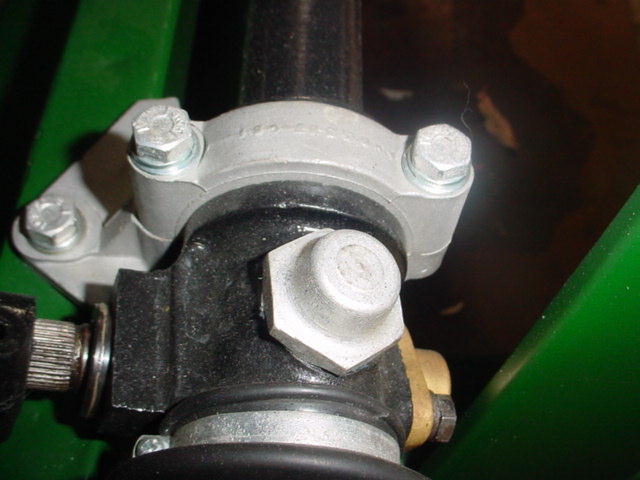
On Rob's Bugeye, the reduction box is held together by two small screws and nuts, and attached to the generator by means of a large brass nut.

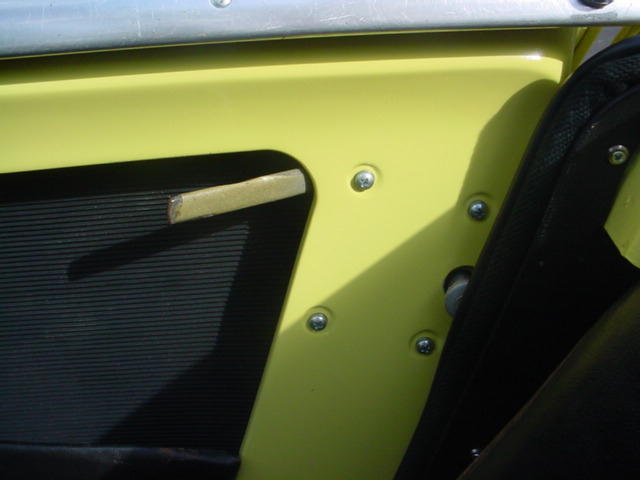
Granny's car has a re-inforcing gusset at the rear of both door openings. I guess BMC decided this wasn't necessary, as it's not there on Rob's Bugeye.
The H1 SU carbies on Granny's car have pressed steel choke levers, where Rob's Bugeye has the more common (and later) cast brass levers.


Granny's door handles are longer, and have a pale gold coloured plastic coating, with no chrome knob. Sorry, no photo of Rob's door handles.
Under the floor of Rob's Bugeye, there is a re-inforcing channel on each side. The channel on the right side of the car has the fuel line passing down one side, the brake line down the other side, and in the centre of the channel are the captive nuts for the seat mounting bolts that are closest to the transmission tunnel. The channel on the left side of the car does nothing but strengthen the floor, but it also contains the inner seat mounting captive nuts. (Sorry, no photos).
But on Granny's car, there are two re-inforcing channels on each side of the car, under the seat frames and containing the captive nuts for the seat mounts.

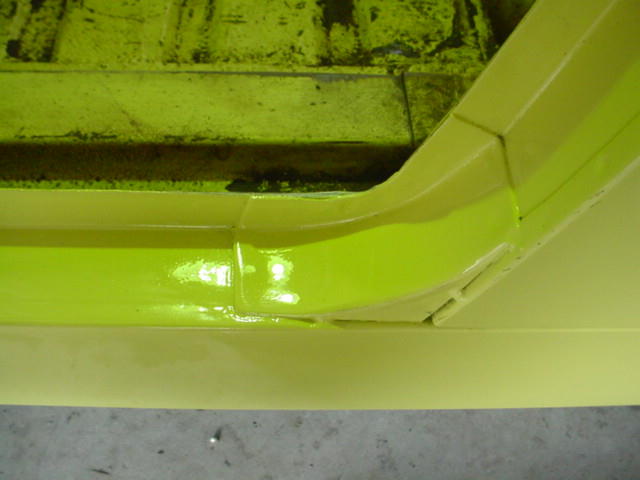
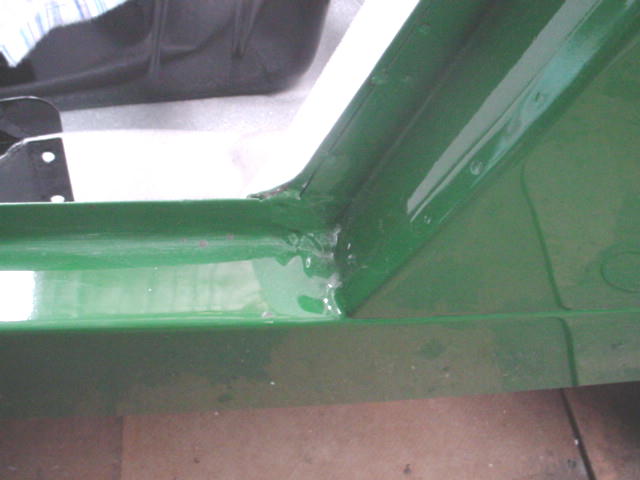
On any Bugeye, the body structure rearward of the rear spring mounts serve no real purpose but to be self-supporting. It carries no suspension mounts, and only has to carry its own weight. Early cars (like Granny's) have very little structural strength around the inner mudguard. The was found to be a problem, and the later cars (like Rob's Bugeye) have a re-inforcing rail around the join between the inner rear mudguard and the boot floor.


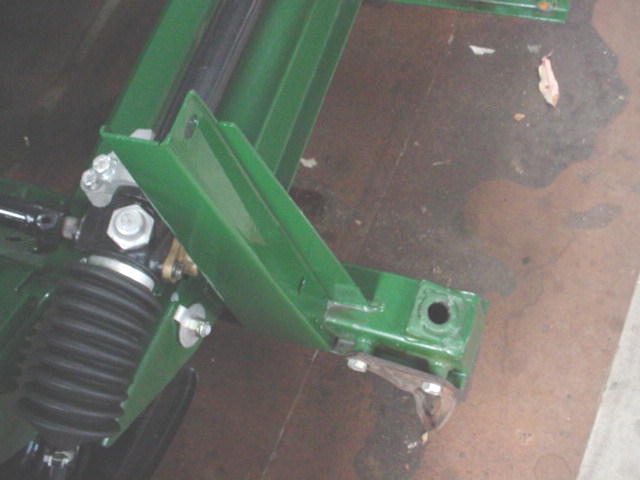
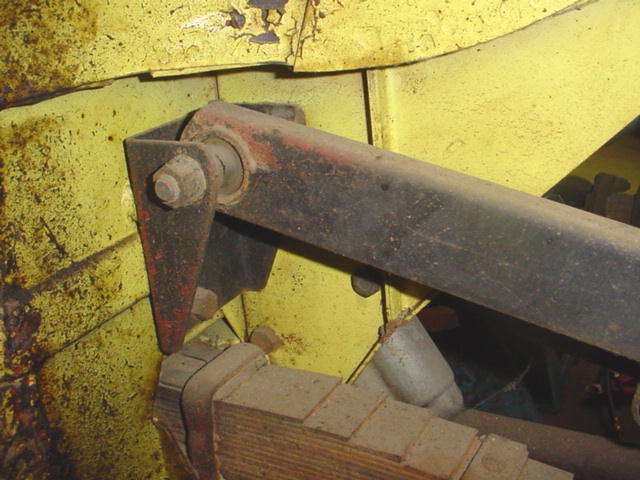
The rear trailing arm mounts are also quite different between Granny's car and Rob's Bugeye;

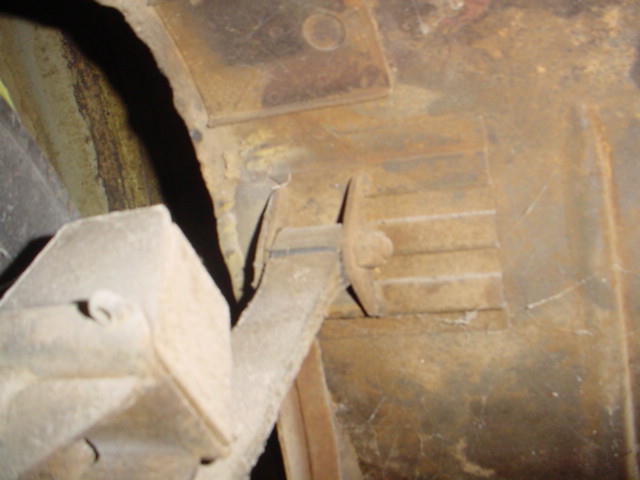
as are the rear axle check strap mounting brackets.

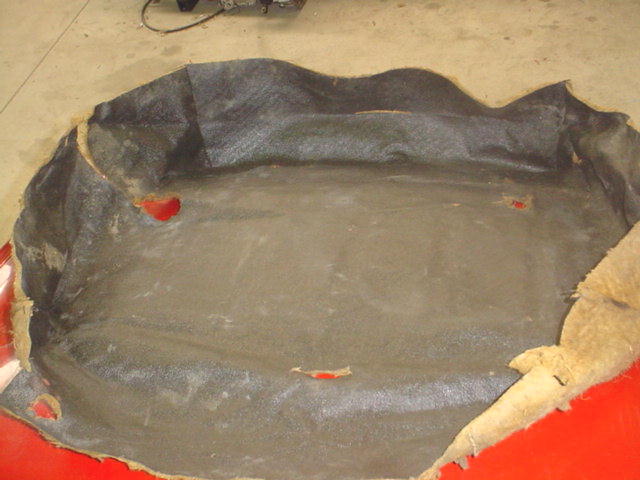
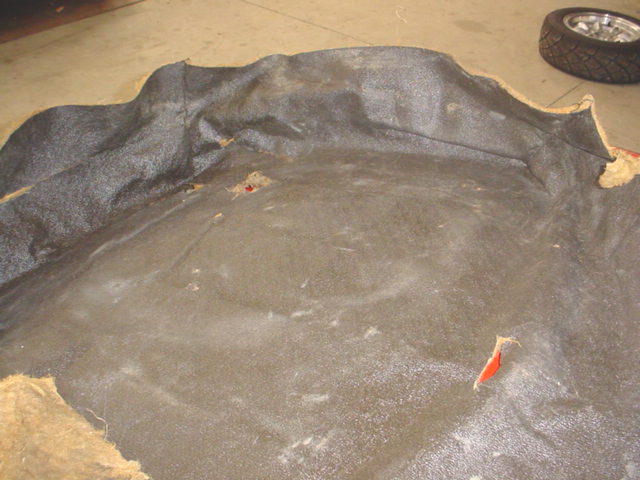
Lastly - the boot liner. Rob's Bugeye, like all later cars, had a simple Hardura mat which lay on the boot floor. Granny's car, however, had more of a tray with vertical sides, also made of Hardura. Here are some photos of Granny's boot liner, together with a page from the original Parts Manual.

Let's finish with the only obvious external difference between the two cars.
Granny's car has the early 9-stud windscreen. It's a square section chrome plated brass frame with cast aluminium windscreen pillars. The pillars would have originally been painted body colour.
Rob's Bugeye has the later 2-stud windscreen. It's an anodised aluminium frame, much more rounded in shape, and with more rounded cast aluminium support pillars which originally were painted silver, as they are now.
Here are some more variations in the cars, contributed by John Alexander in Ann Arbor.
"Colin,
This is in regards to the differences you found between the 1958 and 1960 Frogeyes.
I own and have restored AN5L/564 which was built March 31st, 1958. I found three additional differences to your findings.
1. The sheetmetal piece under the oil filter can has the access hole to get at the filter but does not have captive nuts for the blanking plate. That needs to be attached with loose nuts, bolts and lockwashers. NOT EASY! Therefore, I've left the blanking plate off.
2. The rear shock absorber mounting holes attach the shock at a different angle, with a resulting longer shock-to-axle tube link rod. The shorter link seems to handle axle movement so I'm not sure that longer link is original - can't find any new anyway.
3. The rear spring rear clamp is composed of two 7/16" bolts installed up through the bottom plate and threaded into a steel block which clamps the spring rather more substantially than the later "U" bolt.
Additionally, you may be right about the red engine fan. Mine was also red.
Anyway, I just thought I'd write you a note with what I've found. You've a nice website that I've known about for a while. We seem to both be involved in keeping the Spridgets on the roads. I'm now in process of restoring AN5L/1538. All components done and the paint slowly coming off the tub. Phew, not my favorite work!
Cheers!
John Alexander
Ann Arbor, Michigan
USA"